
Watch a real cube get solved
The on-screen turns beside the cube in your hands.
An edited 3×3 demonstration with English audio and captions. Some turns are sped up; your own solve can take longer.
Six photos, a color check, then one turn at a time. The video shows the screen alongside the real cube and compares the scrambled and solved result.
1. Photograph six faces, then check the colors
Start a new photo sequence with any face toward you. There is no required starting color. Keep the lighting similar and photograph one flat face with all its squares visible.
- Photo 1: take the face in front of you. For photos 2, 3 and 4, turn the whole cube left by 90° each time, bringing the right-hand face toward you. Keep the same face on top.
- Photo 5: from the position of photo 4, tip the top toward you by 90°. Do not turn left again first.
- Photo 6: keep tipping in that same direction through 180° to show the opposite face. Throughout the sequence, turn the whole cube, not its layers.
Already turned? Take the photo. Each turn is demonstrated once. The arrow disappears and the model stops on the face to photograph. You do not need to turn again. Use “Show turn again” only to review the demonstration.
Use the camera, upload one photo at a time, or drop all six in shot order. Photos are numbered 1–6. Take a flat view of each face in even light. You do not need to include neighboring faces in the photo.
From a photo to your next turn
One face at a time. Here is what to look for.
1Take one clear photo
Start with any face. Show all its squares, keep your hand out of the way and avoid reflections. Keep the lighting similar for all six photos.
2Turn and photograph six faces
After each photo, watch one turn of the whole cube. The arrow disappears and the model stops on the face to photograph. Already turned? Take the photo; replay only if you need a reminder. Check colors after all six photos.
3Fit the four corners
A little tilt is fine. Put each dot on an outside corner of the face you want to read. Leave any neighboring face outside the grid.
After all six photos, check the marked squares. Adjust an outline if needed, or choose a color and tap a wrong square on the 3D cube.
Six photos. One cube to check.
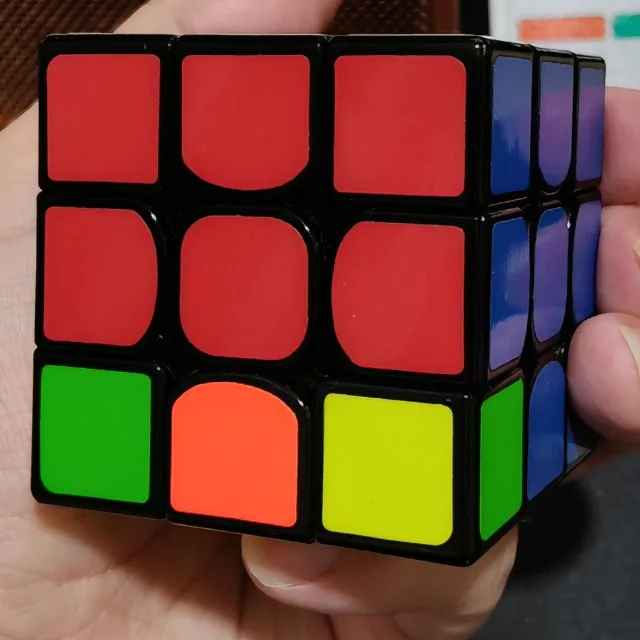
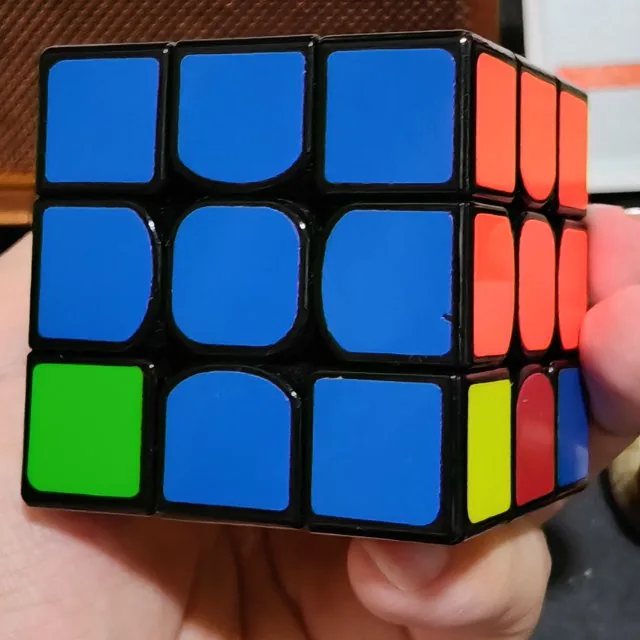
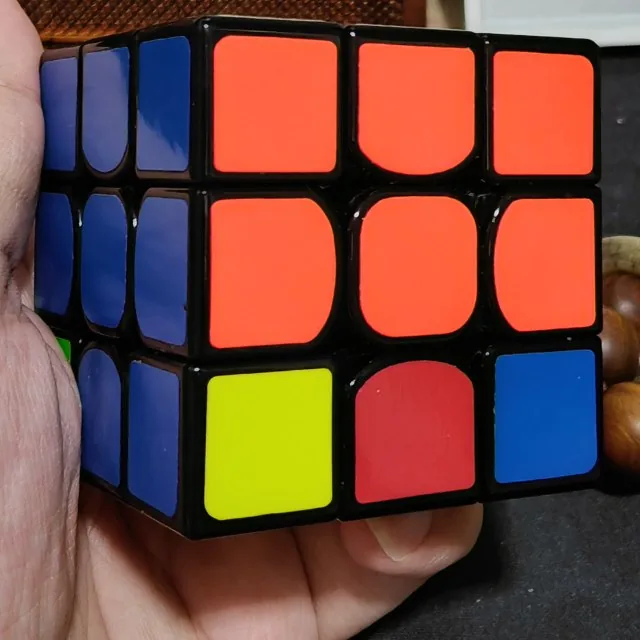
These six photos show the same cube. After your sixth photo, compare the 3D preview with your cube. Rotate a sideways face or tap a square to fix its color before solving.
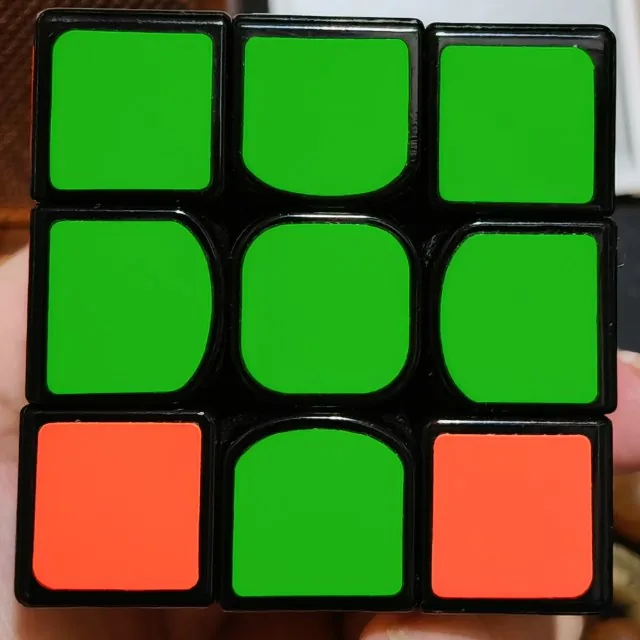
In example photo 1, the bottom-left and bottom-right squares are orange. If the preview reads them as red, either square is a useful orange sample. Pick it when the helper asks for orange; the other photos will use that reference too.
- 1
- 2
 3
 4
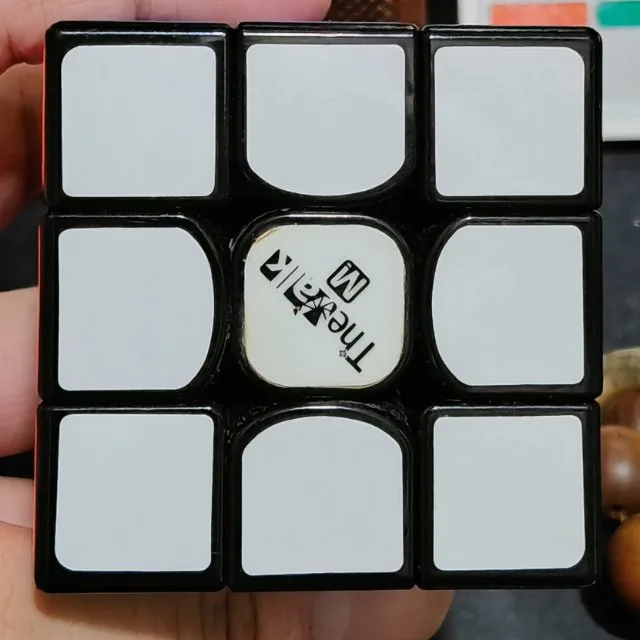 5
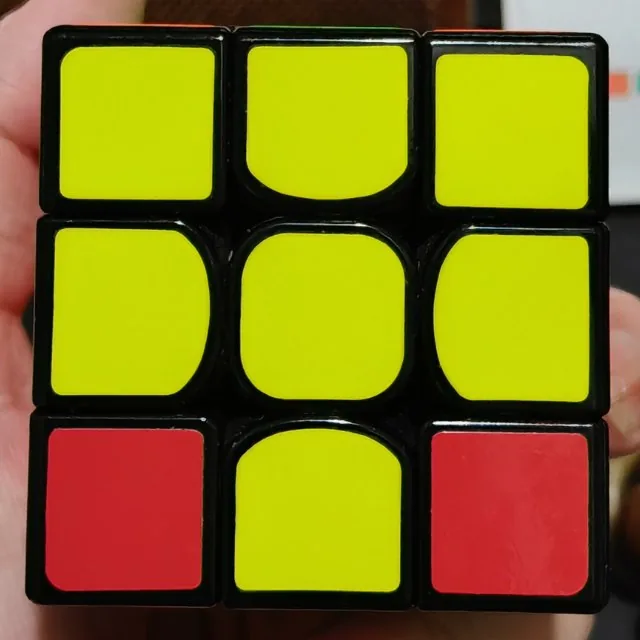 6
Camera not opening in Safari or Chrome?
- Open the HTTPS site in your full browser. If a messaging app’s embedded browser restricts the camera, use its Open in browser option.
- Allow camera access for this site. If it was blocked, check the browser’s site permissions and your device’s camera privacy settings.
- Use Upload photo if the camera is unavailable. JPEG, PNG and WebP are supported, up to 12 MB each. Keep the guided face order and direction.
2. Correct only what needs checking
Photograph all six faces first. Color confirmation happens afterward, so it does not interrupt each shot. The 3D cube already contains the suggested colors; they still need to match your real cube.
If the tool asks you to identify orange
- Tap a clearly orange square in the photo, away from glare or a logo. Choose the real sticker, not the color that the software guessed. If the color-count helper shows several photos, choose one that contains the requested color.
- Choose “Use this color”. That sampled shade is reused across this cube’s photos. You do not need to identify orange separately on every face.
- Check the updated model. A helper can appear again if another shade is uncertain or the totals are impossible. For example, 16 red stickers on a 3×3 still need checking, even if a red sample was saved earlier.
A question mark means the suggested color is uncertain. If the suggestions look right, no sample is needed. You can also skip the helper, choose a palette color and tap the wrong square in 3D.
Fix one face without starting over
Select its numbered photo to bring that face toward you. Use “Adjust outline / rotate” to fit the four corners around that face only, or rotate colors copied sideways. “Retake face” or “Replace photo” changes only that face. Keep the same orientation as its saved photo; the other faces are kept.
For a cube with pink, purple, black or other colors, open “Cube colors” to set its six distinct colors. If a 3×3 has nine of each color but still fails validation, check the photo order and face orientation. Correct totals alone do not prove that the cube was entered correctly.
Prefer to enter colors by hand?
Open the 3×3 solver or the 2×2 solver. For fresh manual entry on a standard 3×3, start with white on top, green in front and red on your right. When continuing from photos, match the model’s existing colors instead. For a different set of six colors, open Cube colors.
For a 2×2, choose an initial front and top and remember them. There are no centers to guide you. Do not change what you call “front” halfway through entering the colors.
Remember this starting position.
White center on top. Green center in front. Red center on the right.
A center tells you which face you are looking at, but it cannot tell you which of its four edges is up. Match two centers: the one facing you and the one on top. For example, when entering the orange face, keep the white center on top; the green center will be on your right. The diagrams show how adjacent centers set each face’s orientation. Only its centers are colored because the surrounding stickers can be any color.
Choose Paint in 3D and pick a palette color. On a computer, left-click a square to paint and right-drag to look around. On a phone, tap to paint and drag to rotate the view.
Select a face below the model to bring it toward you. Match your real cube to that view, then fill its colors. Repeat for all six faces. Photos and manual painting edit the same cube, so switching methods keeps your work.
Open the question mark beside the cube for holding help. Start a new photo sequence with any face, then follow the turning instructions after each photo.
A 3×3 needs nine stickers of each color; a 2×2 needs four. Use the eraser to correct a sticker. “Clear & enter a new cube” starts a fresh input.
Undo and Redo recover recent edits. “Rotate colors 90°” in Edit tools corrects a grid copied at the wrong angle; it does not turn a layer. “Fill last color” becomes available when only one color remains and the piece checks permit it. Red outlines identify suspect stickers.
Prefer to see every face at once? Choose Six-face grid. On a small screen the six labelled faces form two columns. Colors, undo and photo corrections stay in sync with the 3D editor. Open the six-face editor →
3. Check the cube and calculate
Press “Solve my cube” after every sticker is filled. The first calculation needs to prepare search tables and may take a few seconds. You can cancel a slow calculation. If there is an error, recheck color counts, the back face, and the orientation of the top and bottom grids.
A single flipped edge or twisted corner is physically impossible to solve with normal face turns. These errors can also result from a copying mistake, so inspect your entry before taking apart your puzzle.
Compare the color-error examples if the counts look right but the cube is rejected.
4. Match each preview step on your real cube
Match the starting preview to your real cube, including which face is front and which is on top. Use your model’s colors: photo input and custom palettes do not always start white-up and green-front. Rotate the whole cube without twisting a layer. On a 2×2, return to the front and top you chose during entry. Confirm that your cube matches before following the first move.
Drag either cube preview to look around. Reset view returns to the original angle without changing your colors or solution step. Looking from another side does not change F, U or R: keep the original front and top on your real cube.
Press Next to watch one turn, copy it on your real cube, then press Next again when you are ready for the following turn. Directions are always from the viewpoint of someone looking straight at the named face.
For example, R means the right layer clockwise when looking directly at the right side. R′ reverses that turn, and R2 is a half turn. The notation guide explains all six faces.
Each numbered card shows one move and its notation, such as R or U′. Choose “All steps & formula” to read the whole solution. Select a card to inspect that position; switch back to “Step by step” for playback.
“Previous” animates the inverse move; undo it on your physical cube too. “Replay last turn” repeats only the demonstration without changing your completed step: do not repeat it on the real cube. Autoplay can be paused, and speed ranges from 0.5× to 2×. Open “All steps & formula” to copy the formula or jump to a position. After a jump or a reload, you will be asked to match your real cube before continuing. If you made a wrong turn, open “My cube doesn’t match”; “Edit this step” lets you correct the current position and calculate a fresh solution.
Using a known scramble instead
Open “Edit tools” → “Scramble.” Type a sequence such as R U R′ U′. Straight and curly primes are accepted. The app applies that scramble to a solved cube; it does not apply it to the current color entry. Use this option only when you know the scramble your physical cube followed.
“Generate scramble” creates a practice formula and loads its cube. After solving, copy the solution formula, download the written steps, or copy a cube link to open the same position elsewhere. Your current input and step are restored after refresh when browser storage is available. Learn a method in the animated beginner guide.